Museum Window Art: a step-by-step guide through my process

Designing and painting a window mural for the William Morris Society in London

Dream project alert! At the end of last year, I was contacted by the William Morris Society who were exploring the possibility of commissioning a window mural across the main door of their museum in Hammersmith. The beautiful museum is housed in Kelmscott House, the Georgian coach house where Morris spent his final years. It’s in a beautiful setting, but it can be tricky to spot from the street, meaning people passing by don’t always realise the artefacts, exhibitions and workshops that are waiting to be discovered inside.

Close up image of a window mural showing a hand-painted bird and flowers

The brief: Eye-Catching window art

The museum’s goal was to create an eye-catching window design across the front doors that would get people looking twice, while honouring the character of the building and the contents of the museum. The design would be inspired by the work of William Morris himself, drawing on the patterns and motifs that he was known for, such as flowers, leaves and birds, and reimagining them into an original design.

As the museum is housed in a Grade 2* listed building, the paint would need to be fully removable and leave no trace on the wooden green doors.

Designing a distinct pattern rooted in Morris’ visual language

  • In the lead up to securing the commission, I visited Standen House in Sussex, an arts and crafts home with Morris & Co interiors. This was a wonderful opportunity to soak up some Morris magic, before I even began properly planning my design.

  • My design process started with a moodboard where I collected patterns that could inform the work. From this I identified the recurring motifs I'd carry into my own design, such as the birds, flowers, and acanthus leaves that would become central to the piece.

Moodboard photo showing cut outs of different William Morris designs
  • For the colour palette, I started with the museum’s brand colours and then brought in some additional shades to compliment these and add depth to the design.

  • The biggest design challenge was how to create a continuous design across 24 panels of glass. I wanted it to feel joined up and balanced as one design so that it would be impactful viewed from afar, while also providing visual interest and storytelling for people taking a closer look. Incorporating the birds into the design felt a very important part of the story: I wanted it to feel as though they were in dialogue with each other.

  • I created a mock-up using Procreate (see below), so the client could visualise how this would look in context and share their feedback. This is an important part of my design process because it makes collaboration easier and ensures the client has the opportunity to shape the design and be confident about what they’ll get before any paint even touches the window.

packing the right equipment for a window mural

My full kit list is too long to share in this blog (it’s extensive - right down to cotton buds to tidy up any rough edges!) These are a few of the absolute essentials I brought with me to complete the job:

  • Paints: for this job, I used interior emulsion paint, colour-matched to the WMS brand colours.

  • Brushes I always bring a mix of brush shapes and sizes so I have the flexibility to achieve the variation of strokes I need. My most used brushes are the Pro Arte signwriter brushes.

  • Stencil: I printed off a stencil for the logo so that I could trace this through the glass.

  • Chinagraph pencil: I use a white chinagraph to get my sketch down onto the glass.

  • Footstool: possibly my most versatile piece of equipment! I can use it to reach up higher but also to take a seat when I’m working lower down on a window.

  • Tripod: to capture my process while I work.

Installation Day: Bringing the mural to life

I started on the first day back to work after the Christmas break and it was a COLD but also beautiful day to be by the riverside in West London.

on the spot problem solving

Most window jobs have an unexpected challenge that requires a bit of problem-solving. In this case, the challenge was that the coach house doors had a small ramp behind them on the inside. This made it impossible to put a ladder there safely, meaning the top half of the doors were out of reach. The solution was to paint the bottom half inside, but for the upper half, I would need to open the doors and base myself outside where I could use a ladder safely. Making it a very indoors / outdoors job!

SKETCHING OUT THE DESIGN

Once I’d established my working set-up, I sketched out the design with my white pencil onto each pane of glass. This process took a couple of hours, given that there was so much detail and the need to make sure the pattern would join up across the panes of glass.

Close up of a window pane with a flower and vine sketched out in white pencil

Last minute design update

Once I’d completed the sketch, I invited the clients to have a look at the layout before committing with paint. The original two birds in the design were on the upper panes and the clients felt it would be nice to also have include one at eye level. I felt they had a point, so I had a look around the gallery for inspiration and designed a third bird to balance it out.

painting THE DESIGN IN LAYERS

Then, it was time to get painting, the best bit. I worked in layers, alternating between painting indoors and outdoors to manage the cold.

I spread this job across two days, as there was so much detail included. Day 2 was slightly more challenging in terms of weather - at one point it even snowed! Every time I needed a break from the cold, I would take a little time to explore the museum and look through the exhibits.

My final task was to paint the chalkboard with an adapted version of the design. This would frame the chalkboard leaving plenty of space for the team to update the messaging and keep it relevant.

Photo of a hand-painted chalkboard decorated with birds, leaves and flowers

The finished window

I was very happy with the end result, as was the client. As William Morris himself once said:

“Have nothing in your houses that you do not know to be useful or believe to be beautiful.”

I’d like to think that this window design lives up to this quote: useful in helping people to locate and discover the gallery, beautiful in a way that respects the heritage of the building and celebrates the designs of Morris himself.

Completed window mural design hand-painted across the museum carriage doors
Window mural as viewed from the inside at dusk with the sunset in the background

Ready to start planning your window art?

If you’re interested to find out more about how a bespoke, hand-painted window mural could support your business goals, get in touch with by emailing daniellebrooksillustration@gmail.com or using the contact form below.

For more inspiration, take a look at my gallery of window art, or read these window art FAQs.

Creating Autumn window art that feels personal to your business

There are several different angles you can opt for when it comes to autumn windows: from seasonal favourites to spooky halloween fun. My job as a window artist is to help you work out how you can be clever with your design and messaging to make your windows work harder for you.

Read More

How to Remove Hand-Painted Window Art: Step-by-Step Removal Guide

Removing window art can seem like a daunting task, but it’s quite straightforward if you follow these easy steps. All my window art designs are hand-painted using water-based paints.

Tools and materials needed to remove window art

Method for removing hand-painted window art

  1. Spray the painted area liberally with window spray

  2. Leave the spray to soak into the paint for a good 2-3 minutes

  3. Using the glass scraper, gently peel the paint away. It should peel away easily. Use a bin bag to catch the paint.

  4. Give the window a final clean with spray and a clean cloth or blu roll. to deal with any last stubborn bits of paint.

LOOKING FOR WINDOW MURAL INSPIRATION?

Take a look at my window art portfolio which includes bespoke designs for a range of businesses.

Window art inspiration

How to commission effective window art

If you’re considering working with an illustrator to bring your windows to life, here are a few reasons to give it a go, and some things to bear in mind that will help you get the most out of your window art budget.
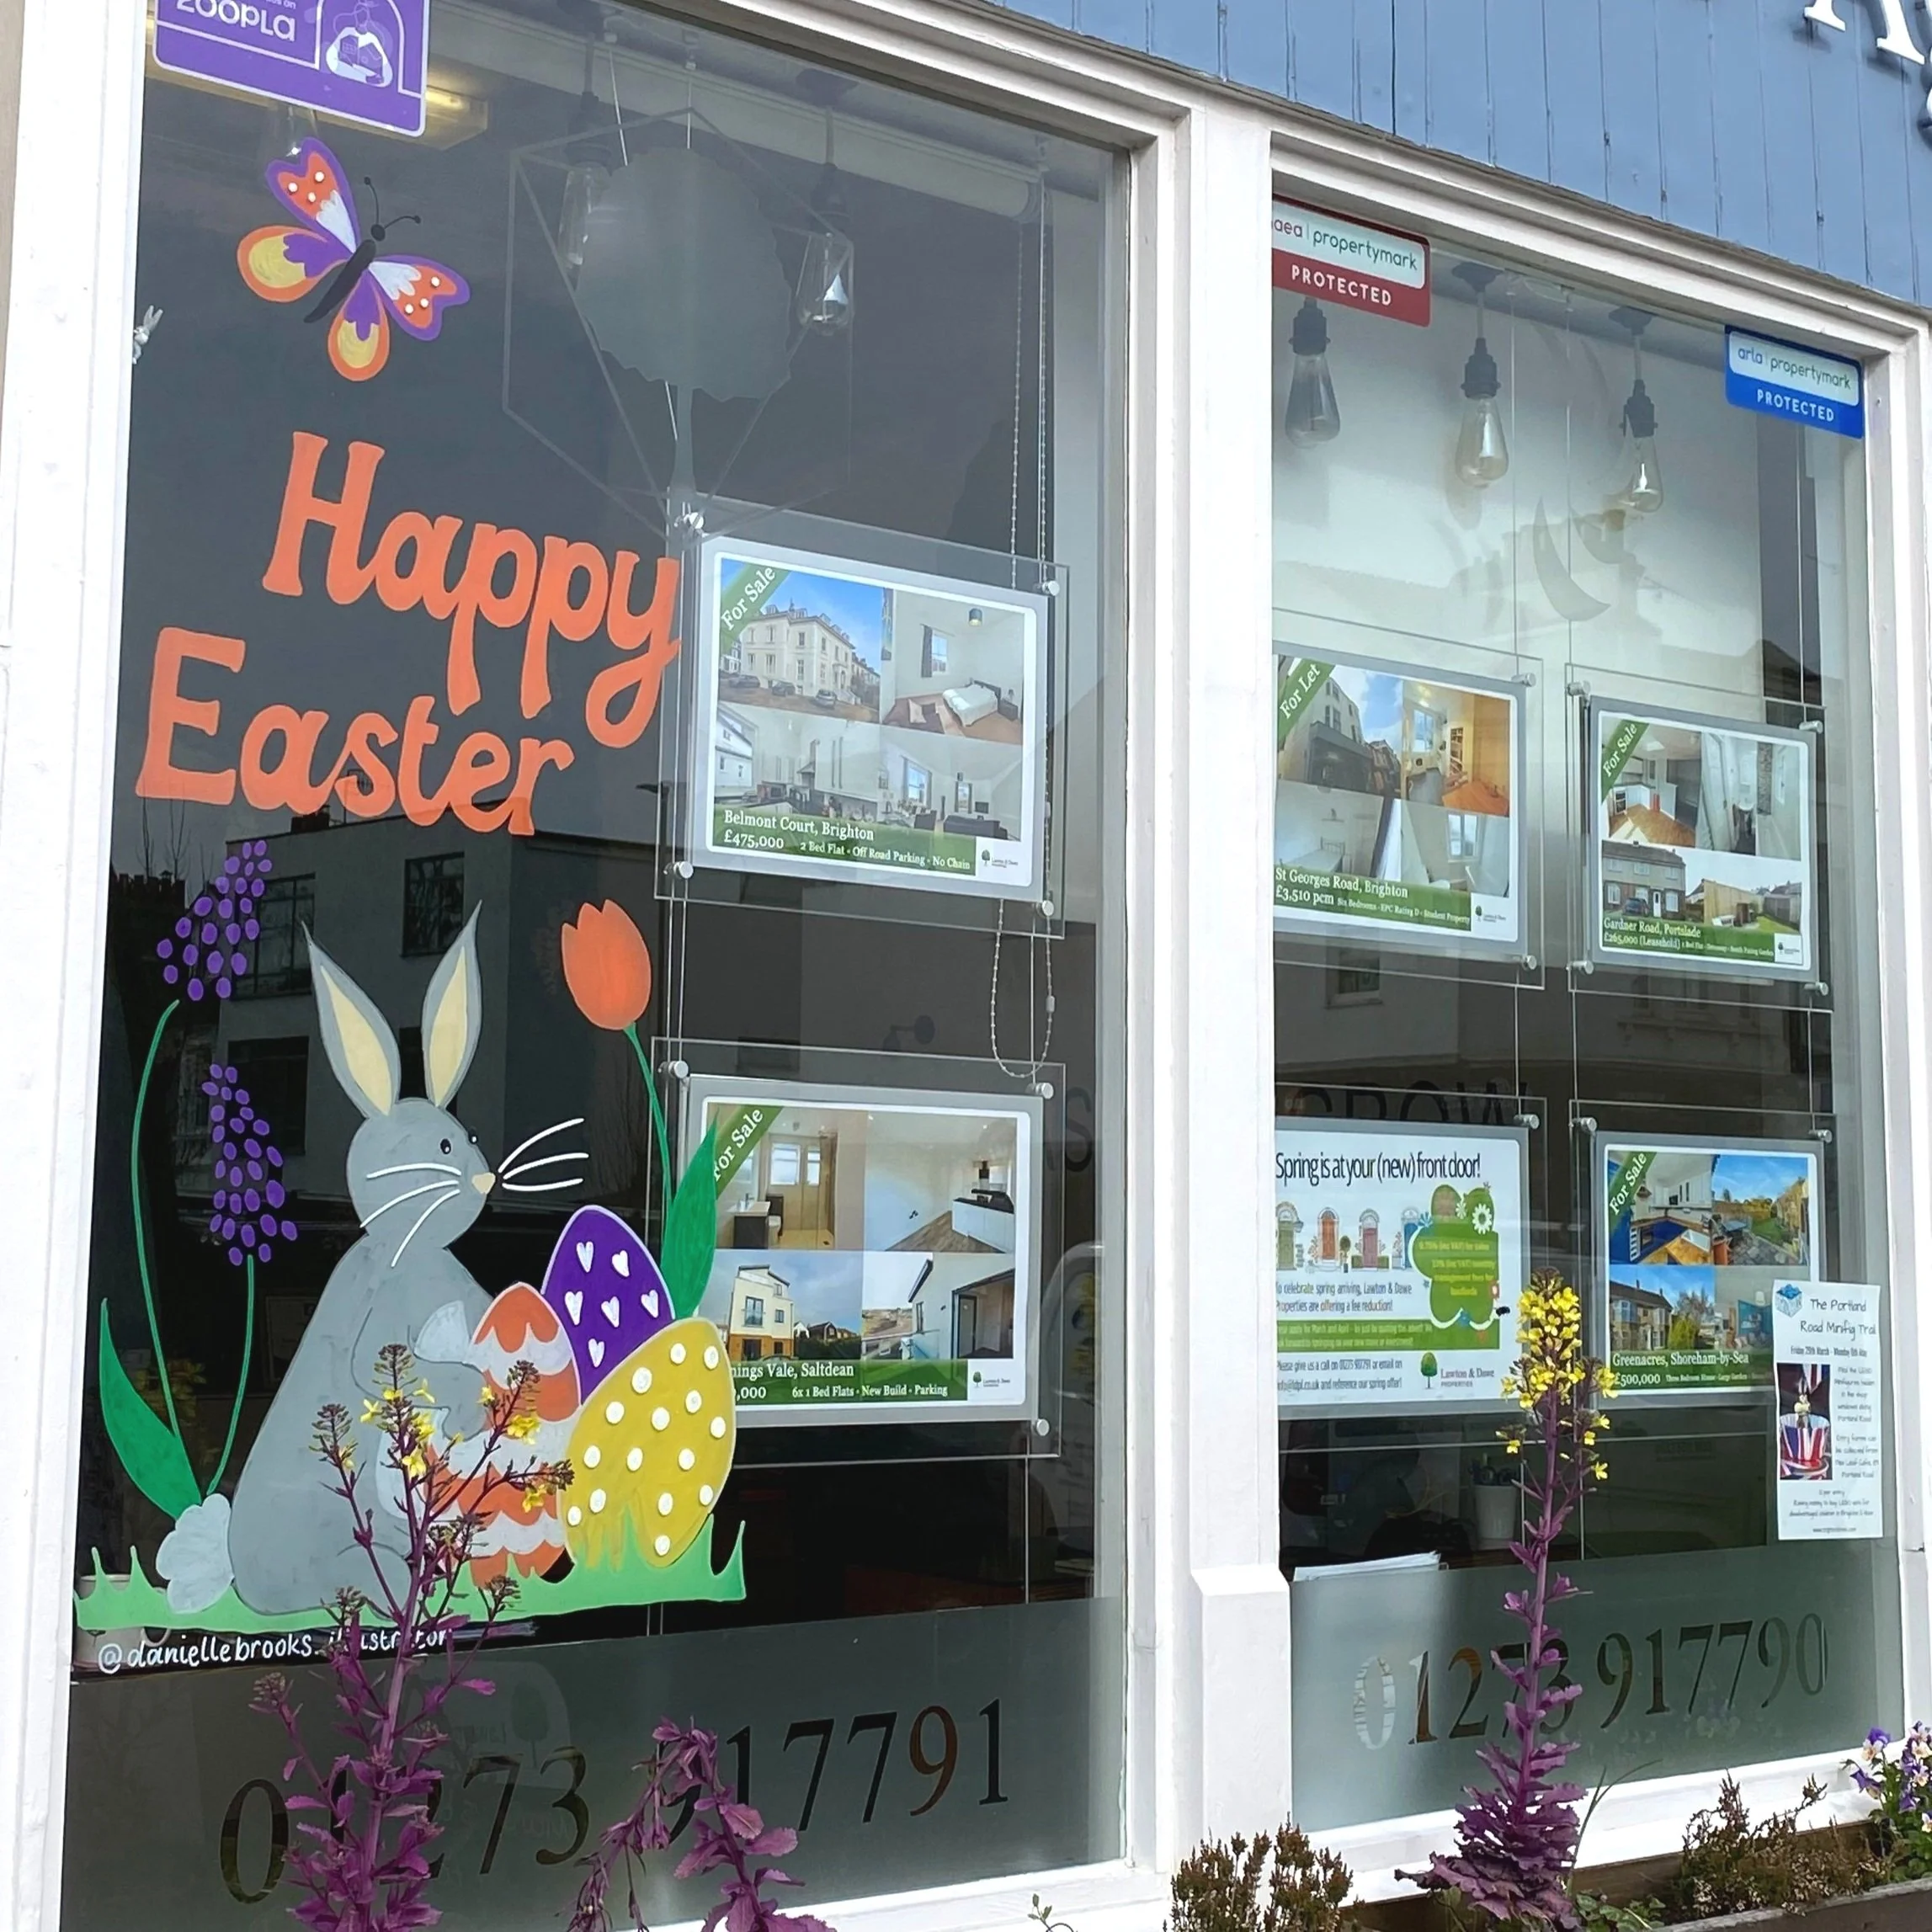
Read More

Window Art FAQs

Hand-painted window art can be a cost effective way to catch the attention of passers-by and encourage them to take a closer look. I’ve compiled a list of the questions I am most frequently asked.

Read More

5 ways window art can boost your high street business

Engaging a local artist to paint eye-catching illustrations and bespoke messaging into your window can offer a creative alternative to pre-printed vinyls. Here are some ways it could help your business stand out on the high street.

Read More